
Cashmere, introduced in lesson I, goes on the diagonal.
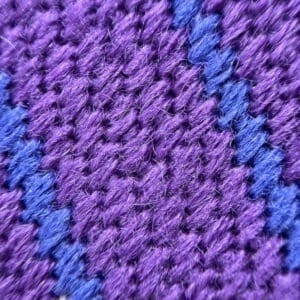
There are several variations with two worth mention. Doing this on the same canvas as the one where you stitched Cashmere in Lesson I will highlight the differences – use the cotton and for the Condensed use two colors in any way you want – alternating rows or something like the picture above with two colors.
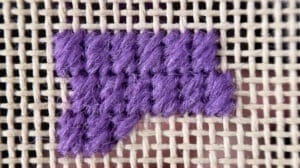
This is a diagonal stitch with a small pattern repeat of offset rectangles. The rectangles are condensed which means that the end of one rectangle overlaps the start of the next. Each rectangular cashmere block of this pattern is worked across two canvas threads by three. Start with a tent; directly beneath the tent make a diagonal stitch across two intersections of canvas. Repeat to make a second stitch across two intersections. Then end with a tent at the bottom right corner of the rectangle.
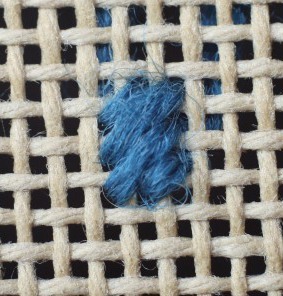
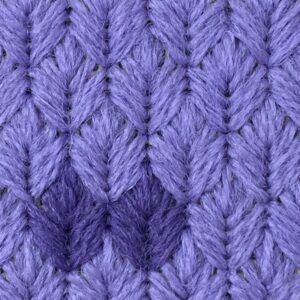
The bottom picture is the Staggered Cashmere – This stitch is very similar to condensed cashmere stitch, evidenced by the fact that this version is sometimes also known as diagonal cashmere stitch. Both feature offset cashmere blocks: the difference is that in this version each block is complete, whereas the blocks in diagonal cashmere stitch are condensed. The picture is at the very top – it’s staggered – stairs, hills, details that will allow the eye to follow the staggered shape.
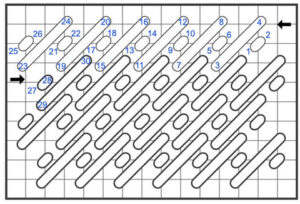
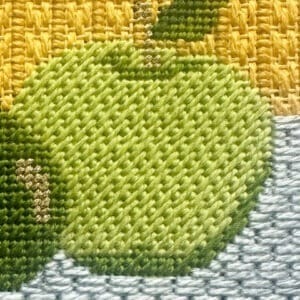
NOBUKO stitch is a diagonal filling stitch that alternates long and short stitches. The long stitches span three canvas threads diagonally, whilst the short stitches span a single canvas thread.
It is usually worked in horizontal rows from left to right, then back again.
Created in the early days of the Embroidery Guild, it is still widely popular and very useful for needlepoint texture.
Basically, you are doing a series of long and short stitches (see Lesson III) .
Make one row bringing the needle up one thread below the start of the previous stitch,
and take it down over three intersections (angled from bottom left to top right). This is a ‘long’ stitch.
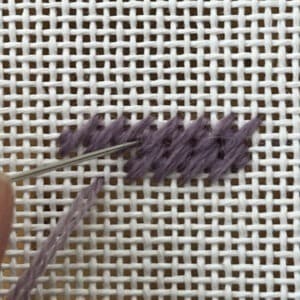
Then work the next row from right to left back across the area.
Your stitches are always worked from bottom left to top right and so will result in long stitches on the reverse.
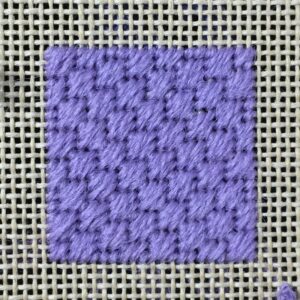 Not to be left out would be the Scotch stitch on the diagonal.
Look carefully at the pattern. This looks great with one color or two colors — get creative!
It goes top to bottom then bottom to top. Meaning, start top left with a Tent over one, then another below it over two. Make further stitches across three, two and one canvas intersections. This completes the first square.
You can accommodate with this stitch with numbers of squares ~~~~~~~~~~~~~~~~~~~~~~~~~~~~~~~~~~~~~~~~~~~~~~~~~~~~~~~~~~~~~~~~~~~~~~~~~~~~~~~~~~~~~~~~~~~~~~~~~~~~~~~~
BYZANTINE is the next stitch This pattern is worked in long diagonal bands of satin zigzags. Each stitch is worked from bottom left to top right across four intersections of canvas, or four threads up and across. The repeat of this stitch is quite large, which means that it covers the canvas quickly. It is a flat stitch and very good for backgrounds.
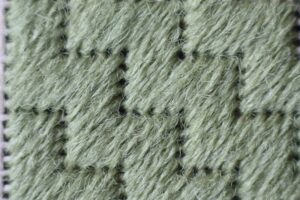
Make five diagonal stitches in a vertical band. The stitch at the bottom of these will be the corner. Next, make four stitches horizontally across from the corner stitch. This will make five stitches in total for this row, the last stitch being the corner stitch.
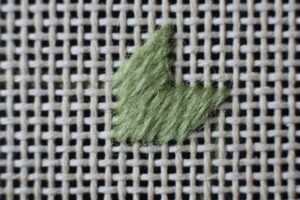 Alternate between vertical and horizontal bands of stitches to make the stepped pattern.The second row can be worked above or below the first, fitting into the steps. The corner stitches of each row should meet.
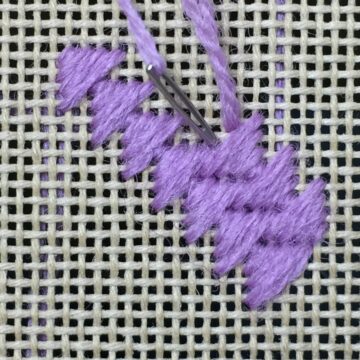
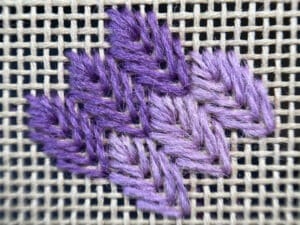
Here’s a fun stitch – The Milanese Stitch
Fine for a background – can do a look of tassels or treetops – to fill an area that is either a small or larger triangle.
This is a canvaswork filling stitch consisting of diagonally offset triangles.
Milanese stitch gives a flat, medium-sized pattern repeat which fills in quickly. It is good for backgrounds.
The triangles of this stitch can also be made with horizontal stitches across two, four, six and eight threads of canvas to make straight Milanese stitch.
This stitch has straight vertical bands on the diagonal